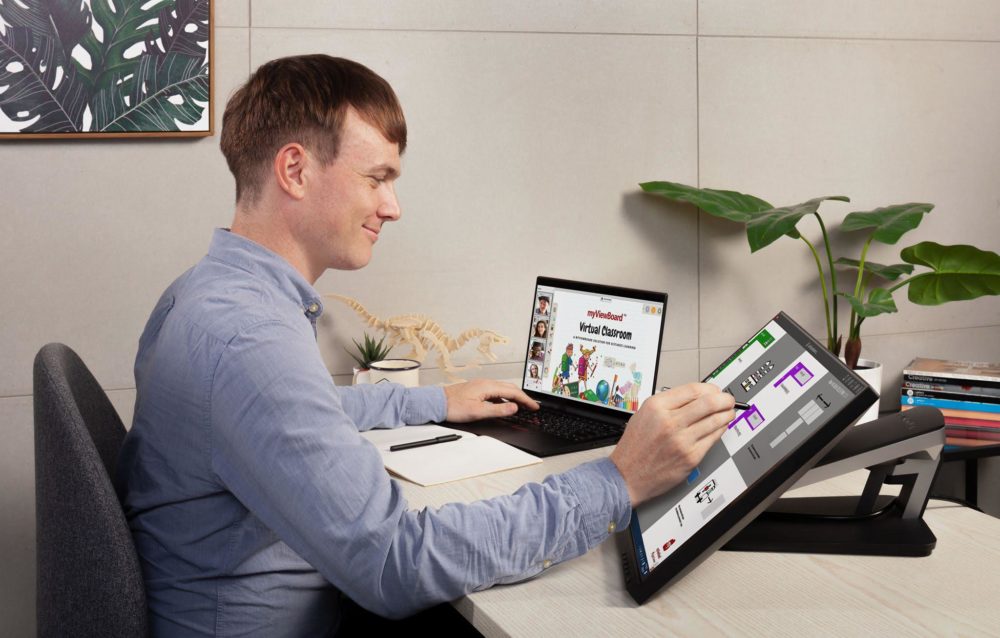
Virtual learning has become the “new normal,” creating opportunity for integrators in the education vertical. But just like many IT clients scrambled to learn the ins and outs of these systems, so too did many integrators struggle to find some best practices for virtual classroom installations.
After speaking with some professionals, we rounded up the below tips for installers in this burgeoning market — a market it seems will be around for quite a while.
So if your firm hasn’t fully embraced this opportunity and needs a place to start — or if some of your technicians are newer to this market — we hope some of the virtual classroom installation tips below will be useful.
How virtual classrooms evolved in the last year
In the past, virtual classrooms focused on proprietary systems and costume conferencing solutions, says Peter Robert, Co-founder and CEO of Expert Computer Solutions.

“With the pandemic and the rush to implement virtual classrooms worldwide, companies started implementing solutions like zoom and Microsoft Teams. These solutions are relatively low costs, and some require little to no additional investment for clients. Many of the solutions require just a simple webcam and a good microphone.”
As we’ve seen the pandemic unfold, the realization of the need to engage and excel at learning from a distance has never been more important. There’s now a need to require the ability to interface directly with students, as well as have an environment in which real-time feedback can be exchanged.
“A new priority that came out this year is understanding and embracing solutions,” Cory Sadler, Lead Instructor and IT expert for MyComputerCareer says.
“This allows industry leading experts to teach and engage their audience at a very high level. The capabilities of some platforms can not even be compared to ones in which we’ve seen even just a few years ago.”
This push to get 100% of students and teachers connected virtually highlighted the digital divide, where many rural and low-income families did not (and still don’t) have access to broadband technology to allow virtual classroom participation.
One major change to virtual classrooms that was unexpected was the need for multiple family members to ALL be online at the same time, for hours each day.
“In my house, both my wife and I work, and we have kids in 2nd and 4th grades; all four of us are online at the same time in virtual classrooms or virtual work,” says Ryan Woodings, Founder and CEO at MetaGeek.
“Our home Wi-Fi network, which was more than adequate for one or two users at a time, began to struggle with four simultaneous users on video conferencing. Many of our customers have reported similar Wi-Fi and broadband issues, because the entire family is online at the same time.”
Most difficult parts of virtual classroom installation
Most of the people we spoke with said the most challenging part about creating an installation of a virtual classroom solution is making sure you have the right infrastructure in place.
Virtual classrooms have evolved, and some have been deployed in a hurry to be available for COVID.
“I have seen many times where integrators focus on the solution itself without taking the time to check if the Internet connection, the wireless network, and the wired network is reliable,” Robert says.
Woodings adds that downloading software on student machines, whether student-owned or school-owned, and getting them logged in for the first time is also a big milestone.
“After that, there can be a learning curve for students and teachers on the technical/hardware aspects, like selecting the right microphone and speakers on their device. The part that is the most difficult, since it’s often outside the locus of control for schools is making sure students have a fast and reliable internet connection.”
Robert says one of the biggest roadblocks is the assumption that the client’s current equipment will be good enough — clients have been using off the shelf computers to run virtual classrooms.
Related: Live Streaming Best Practices for Schools
“The best virtual classroom solution needs a computer with plenty of processing power and a good camera. A great virtual classroom solution involves specialty cameras and conference room devices that can produce good quality and a good experience.”
If you choose a platform with limited bandwidth, then a configuration in which video is limited would be best. In general, security is always a consideration, and best practices should be applied in logical separation between those who are presenting and those who are attending.
“Other items that come up with the new virtual classroom setups are training the employees who will use the conference solution,” Robert says.
“Many users are not familiar with all the features and can leave the classroom not secured. Incidents like this were typical during the early phases of COVID. Strangers were joining classrooms with your kids on them. Fortunately, security improvements and additional education have significantly reduced incidents like this.”
Solving common issues
Regardless of which conference room or virtual classroom environment you are installing, it’s best to start with the basics, Robert says.
- First, test the network and make sure the speed is sufficient.
- Second, examine the firewall and network equipment to determine if the device is capable of QoS to optimize your video performance.
- Third, evaluate the wireless network. Does your wireless solutions support Wifi 6? is the signal strength strong, and how is the latency in the classroom?
Solving these challenges before you install a virtual classroom solution will significantly improve the experience and performance.
“Remember, if something goes wrong, learn from it. Advise that your IT clients elicit feedback from their users to constantly make sure you’re improving their experience session to session. You have to always be looking to improve your client’s experience each and every session.”
Doing so will build trust and ensure they’ll go to you for their next education technology need.
Woodings says there may be opportunity to provide direct teacher training where needed as some of them have never taught remotely before.
Training should include how to set up their microphone or headset, and how to frame up their webcam. Teachers may also be able to take advantage of advanced virtual classroom functions such as screen sharing, text-based chats, and non-verbal communication tools (like a thumbs-up or “I need a break” button) that are built into the solution.
If a teacher is instructing from home, give them a primer in how to best use their home internet connection. This might include tips about positioning their computer or router, or the advantages of turning Wi-Fi off entirely, and plugging directly into their router with an Ethernet cable.
What to tell your education clients before problems arise:
Here are some quick tips integrators should remind their clients of to avoid issues — courtesy of Woodings.
- Where possible, plug directly into your router with an Ethernet cable. This removes all of the challenges of Wi-Fi, and ensures the fastest possible connection to your router.
- When using Wi-Fi, try to be near your router. The fewer walls or obstacles between you and your router, the better.
- If your router offers a 5 GHz connection (usually labeled “5G” or “5 GHz”), connect to that instead of 2.4 GHz. It is usually faster and more reliable.
- If a student’s audio is choppy, advise them to turn off video. Their internet connection might not be fast enough to send both audio and video up to the internet.
- Use headphones! This will guarantee that there will be no problems with “echo”. A pair of cheap headphones with a built-in mic work just fine (be careful that the mic doesn’t scratch on zippers and buttons), as do purpose-built headsets, and Bluetooth earbuds.


")