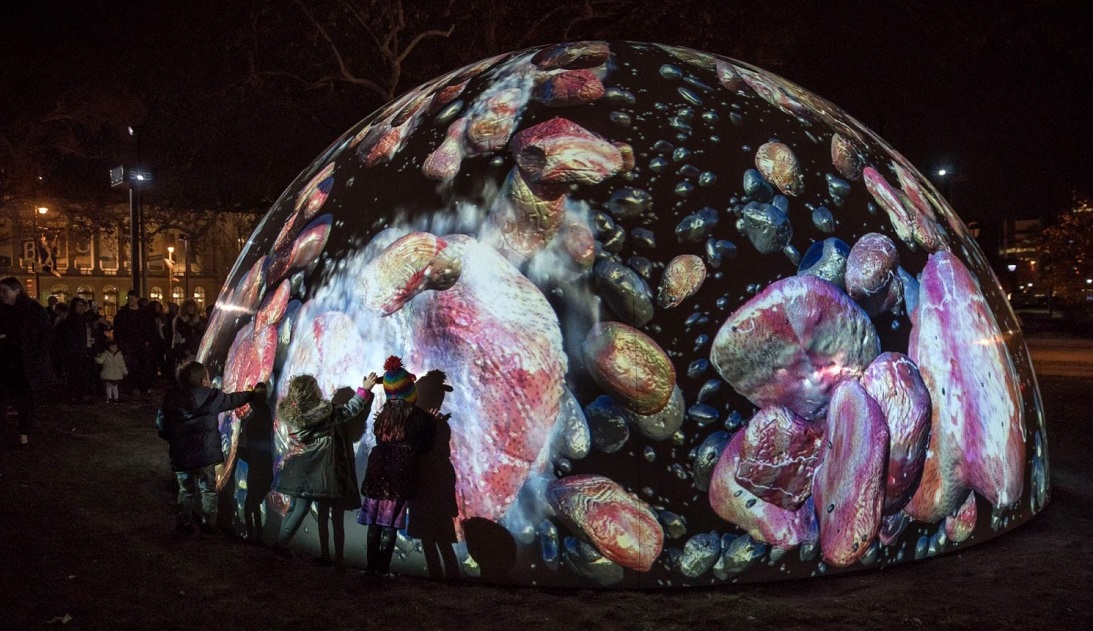
In many ways, projection mapping is the “razzle-dazzle” of pro audiovisual systems: it’s the puttin’ on the ritz of AV, the I’m ready for my close up. In other words, it draws attention to itself — and it deserves to do so, given how technically involved projection mapping systems are to install.
So we’ve asked some of the industry’s most experienced integration firms who specialize in this area in order to assemble some best practices and tips for installing projection mapping systems.
Pre-planning is the most important step because there are no ‘take-backs’ in mapped systems
Jesse Miller, GM of Midtown Video, says the first step is to use a software tool to map out the location of the projectors and simulate their beam.
“The exact placement in the field may differ slightly, but it remains essential to have a solid layout and understanding of the potential mapping specific to each projector and lens,” Miller says.

The manufacturer may have tools downloadable from their website, and other tools such as Cinema 4D can assist.
Identifying where the viewer will stand is also critical. “You need to re-plan not just projector beams but viewer’s sight lines as well.”
Buildings really do move!
Mike Rideau, Managing Partner – Operations for Interstate Electronics Systems, says the buildings which house projection mapping systems often sway slightly, which has big impacts on system delivery.
“We had 20 projectors approximately 40 ft. above a 90×120 ft. scientific model space. After getting the projectors fired up, we began to notice some jitter in the images. Ultimately, we determined that strong wind gusts or a windy day caused enough movement in the steel frame of the building to slightly vibrate the area. This also would occur when freight trains on nearby tracks passed the building. The solution was a series of interlocking guy wires tying all projector mounts essentially together, forming one large grid.”
Shadow troubles
“As we had a ring of 5 projectors mapping a circular room, we had to include a downward angle of the projection so that no projector was in the path of another’s beam (casting shadows),” Miller says.
Select a projector with flexible geometry software available from the manufacturer.
“We used Panasonic PT-RZ970 which have a ‘simple’ geometry program available as a download from Panasonic, and an enhanced geometry program available from their technical support team or for a license fee.”
Blending has more leniency than you’d think
Feathering the edges and using between 10 and 20% overlap between edges will give you some leniency in blending multiple projectors.
“Try to blend in a single axis only, as multi-axis blending means fixing ALL projectors any time you have to fix one,” Miller says.
Double-stacking is incredibly important in many situations where projection mapping is used to enhance large shows. When lots of money is on the line, it doesn’t hurt to provide a failsafe.
Two examples of atypical solutions
Maris Ensing of Mad Systems provided two examples of projects where the mapping wasn’t your typical “take the building, 3D laser scan it, and map it”.
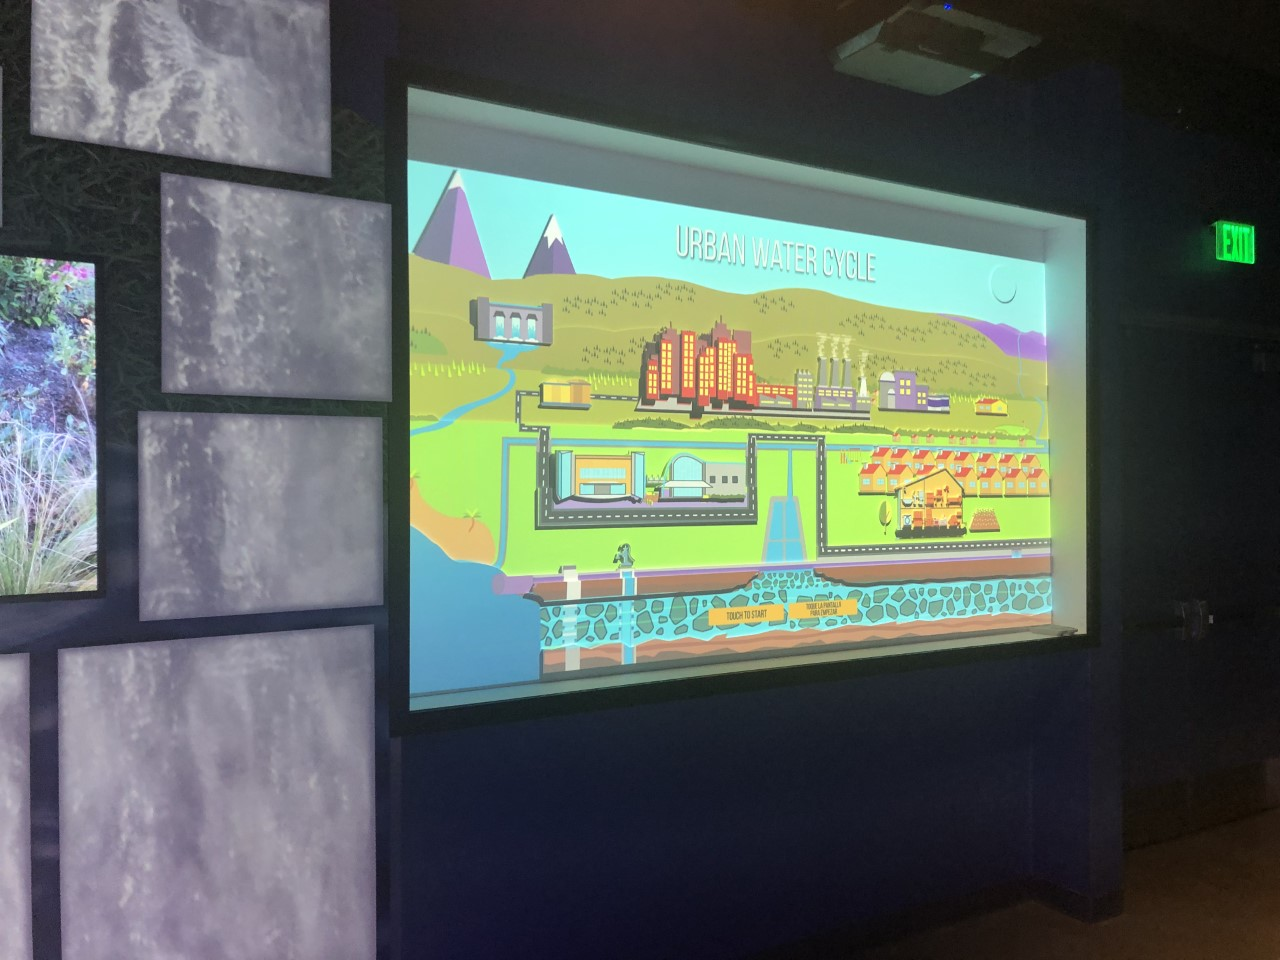
The first example is a relatively simple touch exhibit, where Mad Systems wanted to avoid “just a touchscreen” and introduce some depth.
“We looked at the story that was to be told, which was the urban water cycle. We worked with an artist to put the overall image together with the client team to include all the elements they wanted, and then we created the layering that made sense for this exhibit to get a sense of depth.”
They had to use an ultra-short throw projector to avoid casting significant shadows, so Maris says they knew they’d have shadowing to deal with on the bottom edges of anything that they pushed forward from the background.
The imagery was designed to take that into account – they didn’t have enough room to chamfer all of the bottom edges and having done some quick experiments found that the shadows cast would just add to that feeling of depth they wanted.
The ‘water’ and ‘underground’ layers were put together as the base layer, with various ‘land’, ‘roads’ and ‘buildings’ added as layers that were pushed forward a little.
“Since we had the files for the various elements, all the graphic design was done based on the cut-outs, and then final alignment was done on site. The touch overlay was then located around the ‘window’ that contains the exhibit, so that we have a touchless interactive, with the actual interactive ‘buttons’ a couple of inches behind the touch overlay, Ensing says.
“Of course that produced some parallax, and we compensated for that by using fairly large interactive buttons with the interactive touch area on the IR touch sensor set up so that it matches for any reasonable viewing/touch position.”
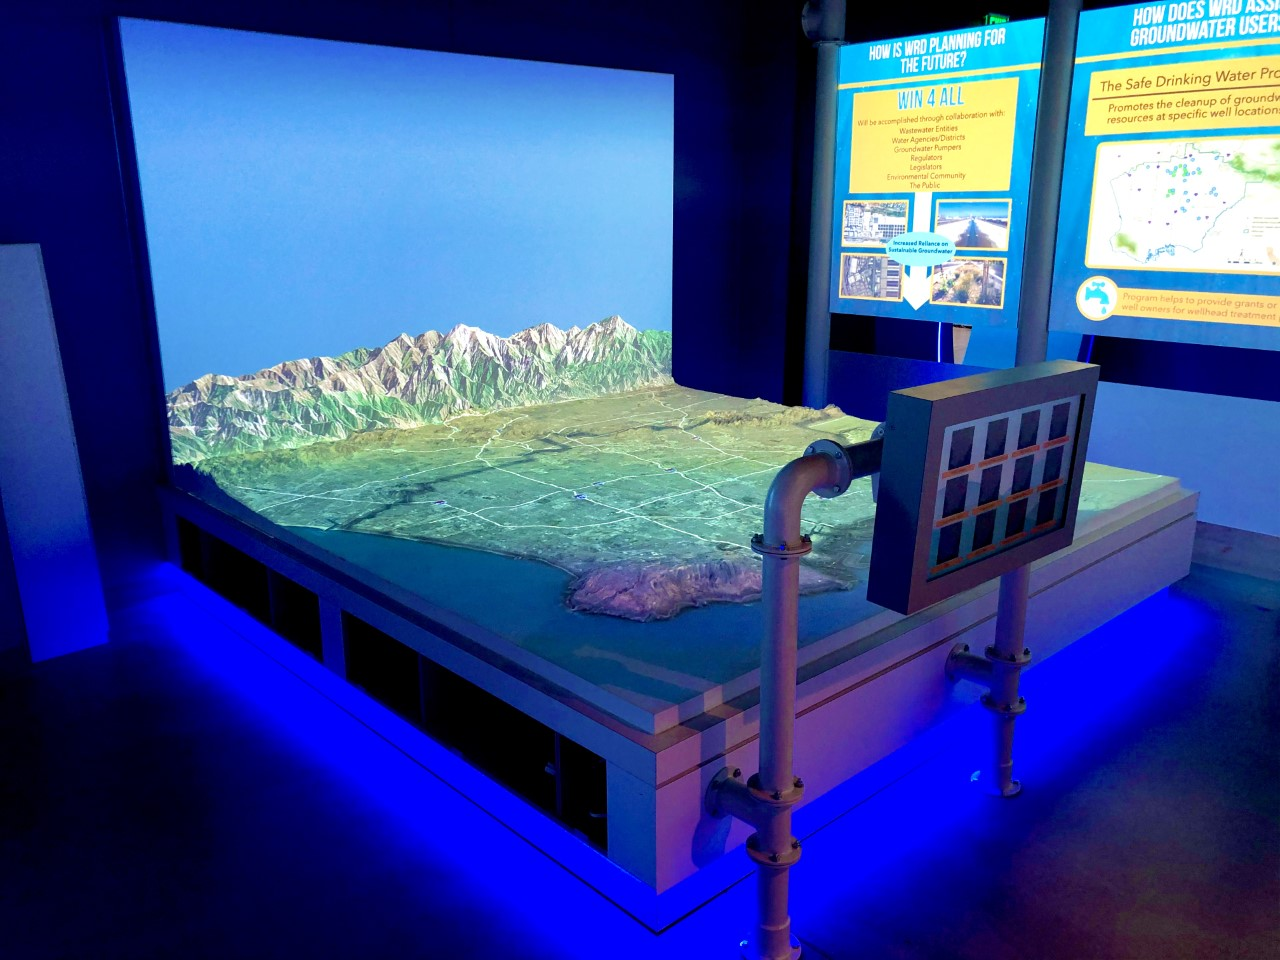
With a second example in the same project, the process they used was the other way around.
“We started with a detailed image of Los Angeles from the same GIS database that also holds height data. The model of Los Angeles was cut using a CNC machine that used that height data made from the same file that we used to create the overlay, so when the topo map was installed, the only thing we had to do to get the mapping spot on was to align the projector with the map and set the zoom on the lens.”
In this case, data is overlayed, and since all that information is also provided from the same GIS database, this one was relatively easy to set up and align.
“The interface between the horizontal part of the map and the projection onto the vertical back was the only part where the two needed to be matched up, and that was taken care of by making sure that the shape on the mountains on the transition was softened so that the edge looks clean – but there is (intentionally) very little detail in that area so that we knew that the alignment would be relatively easy to handle – the artist took a look at that boundary and did some final touch-ups to make it look just right.”
")